
Parenting is a hard enough job. On top of that, when it comes to encouraging your little ones to learn math, it can get harder.
Can you imagine your child as excited as playtime for practicing math?
Yup! It’s possible because, here, I am going to tell you how to make abacus at home and turn solving math problems into a fun game.
Things You Will Need
- An old cardboard/Amazon delivery/wooden box.
- Utility knife/screwdriver/compass
- Scissor
- A glue gun
- Old strings/straws
- An old beads necklace
- Nail paints in different colors
- Watercolor/poster color/acrylic paint/crayons
The Perfect Age for Abacus Learning is 3 years-old
Which Abacus Are We Making?
There are different types of abacus available in the market. The Chinese abacus suanpan; the Japanese abacus soroban, the Russian abacus schoty, and the modern abacus.
The modern abacus, also known as Danish abacus, is mostly used at primary schools in the USA.
Therefore, for this DIY journey involving you and a child, we’re going to make the school abacus. It’s easier to make and convenient for kids.
However, if you want to learn how to make a suanpan/soroban, watch this video.
Learn the Difference Between Suanpan & Soroban
Parts you Need to Make a DIY Abacus
1. Frame
The frame is the outer body of the abacus. It will provide a definite shape and hold together the other parts, such as the beads and the rods.
The old versions were made by carving sections on wood. But beginning with the Chinese version, we have a proper frame. Both the Chinese and Japanese abaci were made with wooden frames. But a modern-day Japanese abacus has a metallic frame.
However, the modern-day abacus used in most schools is made with a wooden frame.
2. Rod
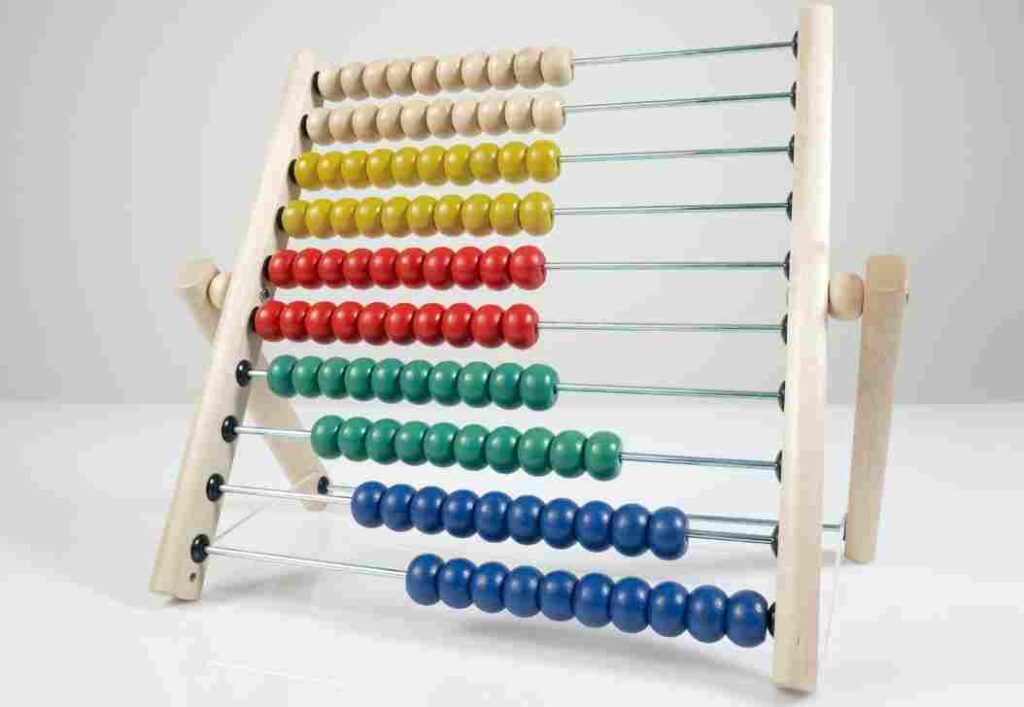
As you have seen in the picture, the abacus has 10 horizontal rods. Mostly the rods are either wooden or metallic.
3. Beads
Next, we would require making beads. There are ten rods, and each rod has ten colorful beads. You can color each row in a different color or use the same color for all the rows.
Struggling to teach math using an abacus? Hire an EnthuZiastic abacus expert for a personalized abacus learning experience.
Wondering which is better? The Danish Abacus or the Rekenrek?
Step-by-Step Method to Make an Abacus at Home
Now that we know which abacus we are making, the parts we are making, and the things we need, I think we are ready to begin the DIY process. Here’s a video tutorial, in case you want to see somebody doing the directions.
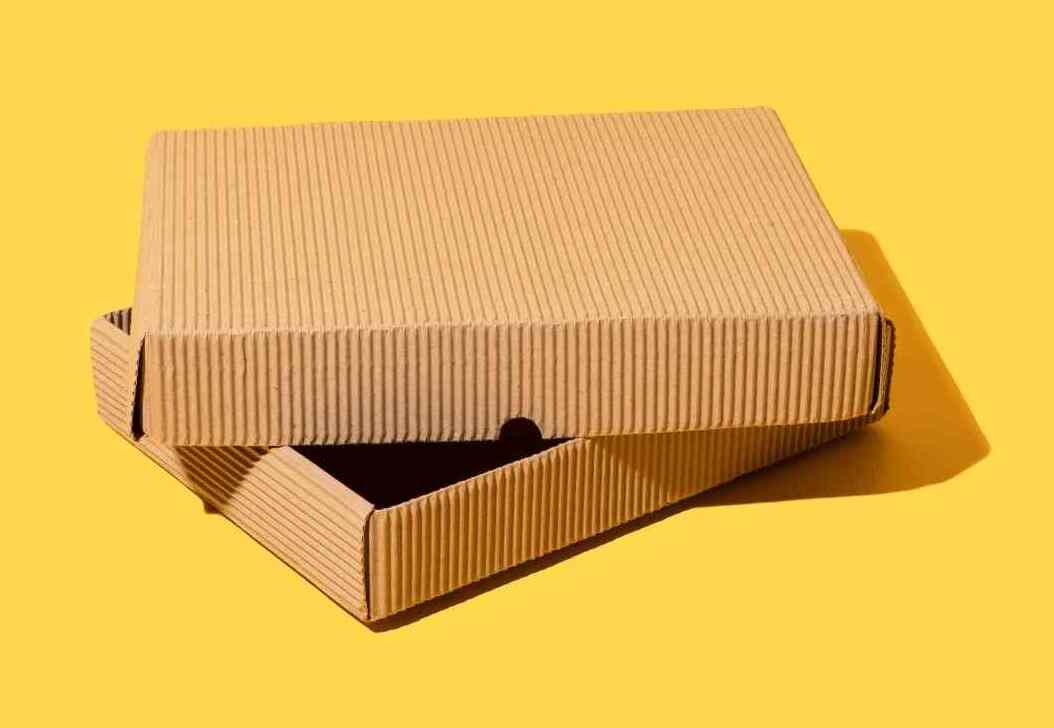
Step 1: Build the Frame
To begin with, the frame is the primary part of the abacus. So, I suggest you go with something sturdy and firm. For this step, you can either go with an old cardboard box, an Amazon delivery box, or a wooden crate.
Honestly, a small recycled fruit crate would be the best, but it is also difficult to find at home.
So, let’s try to find out how to make abacus with a carton.
(If you want to know how to make an abacus with wood, please check out this blog.
Go around the house and find a home delivery box.
At present, most of us order things over the internet. So, I am guessing you will have a cardboard box lying around.
Pick a medium-sized box and cut it, keeping 2 to 3 inches in height.
Now, color it inside out using watercolor, poster color, or acrylic paint. Also, you can ask your little artist to use crayons to color it.
My point is: you can use any color you want. But if you want more perfection in terms of finishing, you can use acrylic paint.
Wondering how to Divide using an Abacus?
Step 2: Make the Holes
First, use a pencil and draw ten holes on two opposite sides of the box. Use a ruler to make sure that the opposite holes are on the same height.
Then, use a compass to pierce the holes. For this step, you can also use a utility knife, a pointed scissor, or a screwdriver.
Step 3: Arrange the Rods
I suggest you use an aluminum string for a durable abacus. However, if you can’t find any aluminum strings, you can use woolen strings and old guitar strings.
Again, if a child is doing this process by themselves, then using woolen strings or recycled straws is the best idea.
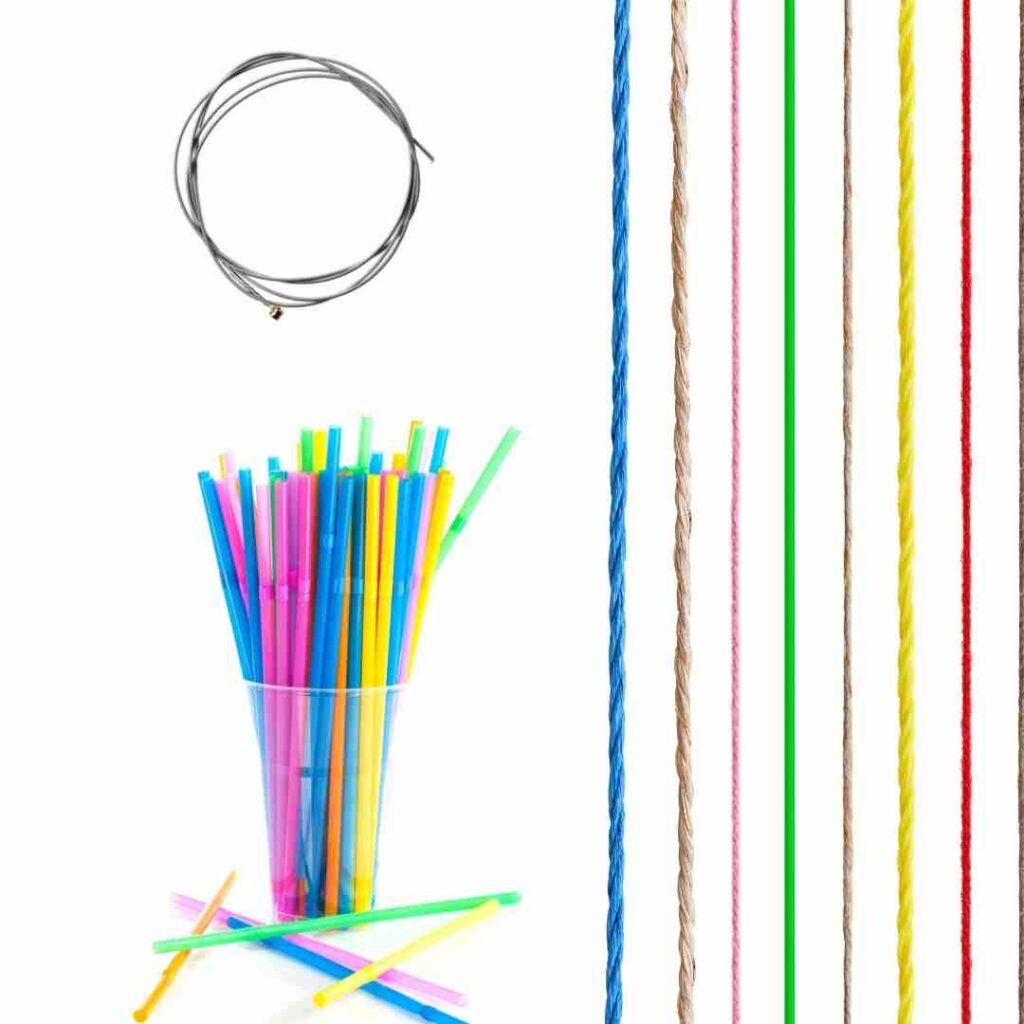
Use a ruler to measure the breadth of the box (distance between the holes) and then cut the strings/straws in that measurement.
Make sure you have as many strings/straws as the number of rows you are planning to keep.
Step 4: Prepare the Beads
There’s always a drawer in every house where all the old, unused necklaces pile up in some corner.
The next step is to find that drawer and bring out two or three beady necklaces.
Remember, you need ten beads on ten rods, which means you will need 100 beads in total. But, since it’s a DIY project, you can go with 4 or 5 rows (as per the child’s choice).

Keep all the beads in a bowl. Now, color them. If you want, you can keep them as they are, or you can color them using nail paint.
Kids absolutely love this step. So, I suggest taking some extra time for this step and coloring each set of ten beads in a different color.
Once you are done coloring, let the beads dry for half an hour.
Next, put the beads on designated strings/straws. Make sure you count them correctly.
(Also, if you want to learn how to make an abacus without beads, write to me in the comments section.)
The Roots of Abacus go as back as in 27th BCE
Step 5: Glue the Strings/Straws into the Holes
This is the last step, therefore, the most important one.
Now, apply glue on each hole using a glue gun. If you don’t have a glue gun, you can use regular glue.
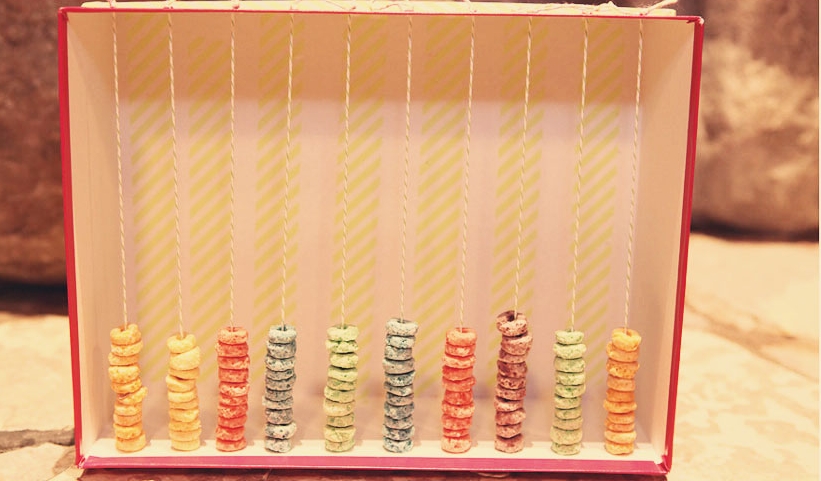
Then, insert the strings/straws one by one. Once you are done, let them dry.
Check after ten minutes. Voila! You have your DIY homemade abacus.
FAQs
1. What is the minimum number of bars for a DIY abacus?
The minimum number of bars in a DIY homemade abacus is 4 to 5 bars. But, remember it’s a DIY project. So, if you are a grown-up and you have the right materials, you can go with the equal number of rows as an original abacus.
But if it’s a child on this DIY journey, I suggest you go with a smaller number of bars.
2. How can I practice abacus at home?
First, you will need to learn how to count on an abacus; then, it’s time to learn place values. Next, it’s time to figure out how to represent a double-digit and triple-digit number on the counting frame.
Once you do that, you can go ahead and learn the addition strategies on abacus, such as the 10 and two 5 strategies.
3. What is the age to learn abacus?
The best age to learn abacus is 4 to 14. However, there is no age bar to learn abacus. From a preschooler to a 60-year old, anybody and everybody can learn abacus.
Also, it’s best if you introduce the abacus as a toy to the kids when they are toddlers. That way they can get comfortable with the counting frame and learn better when they begin.
4. How do I make an abacus with a tissue box?
First, cut the tissue box horizontally, so that the top comes out and you get the frame you need. Next, use a compass to make holes on opposite sides of the box. Then, get 3 or 4 strings/wool/straws and put 10 beads on each of them.
Now, insert the strings/wool/straws in the holes inside the box and fix them with glue. There you have made a fine, portable DIY abacus from a tissue box.
To know more how to make an abacus using a tissue box, go to this tutorial.

Learn Abacus From Expert Teachers
Conclusion
Undoubtedly, using an abacus comes with amazing benefits. In other words, taking abacus classes will benefit your child over and beyond academics. But sometimes, children tend to step back from activities when they think it’s related to studying.
If your little learner is also finding it difficult to like abacus, try making the DIY abacus with them. It’s the ultimate idea to turn math into a fun exercise.
Trust me; after this step-by-step process, your child will be more than eager to learn mathematics. But if you are an adult and is looking to start learning abacus, go ahead and create this simple, yet useful instrument at home. I hope you try this fun activity at home and please let me know how it went.