
Who doesn’t love a good pizza? The crispy crust, the melty cheese, and the burst of flavors from the toppings—it's the ultimate comfort food. However, regular pizza is often made with refined flour, which lacks fiber and nutrients. But what if you could enjoy your favorite dish guilt-free and packed with nutrition?
Enter Millet Pizza! This wholesome twist on traditional pizza uses millet flour for the base, offering better digestion, improved nutrition, and a gluten-free experience. Whether you want to eat healthier or simply experiment with alternative grains, this recipe is a must-try.
Why Millet Pizza?
Upgrade your pizza with a millet crust! 🍕✨ Naturally gluten-free, rich in fiber, packed with nutrients, and gentle on the stomach, millets make your pizza not just delicious but also wholesome. A smart twist for a healthier you!
Types of Millets You Can Use for Pizza Crust
You can experiment with different types of millets for unique flavors and textures:
Ragi (Finger Millet) – Rich in calcium and perfect for a nutty, earthy flavor.
Jowar (Sorghum Millet) is protein–rich and offers a mild taste.
Bajra (Pearl Millet) – Keeps you warm during winter and has a slightly
coarse texture.
Foxtail Millet – Ideal for a lighter, crispier base.
Millet Pizza Recipe:
Step-by-Step Guide

Ingredients
For the Crust:
1 cup millet flour (your choice: ragi, jowar, bajra, or foxtail)
1 teaspoon baking powder
1 teaspoon baking soda
½ teaspoon salt
½ teaspoon oregano or Italian seasoning
1 tablespoon olive oil
¼ cup yogurt
Water as required.
For the Toppings:
½ cup pizza sauce
½ cup mozzarella cheese (or dairy-free alternative)
Veggies of choice (bell peppers, onions, mushrooms, tomatoes, olives, spinach)
Protein options (grilled paneer, tofu, chicken, or chickpeas)
Herbs & seasonings (oregano, chili flakes, fresh basil)
How to Make Millet Pizza
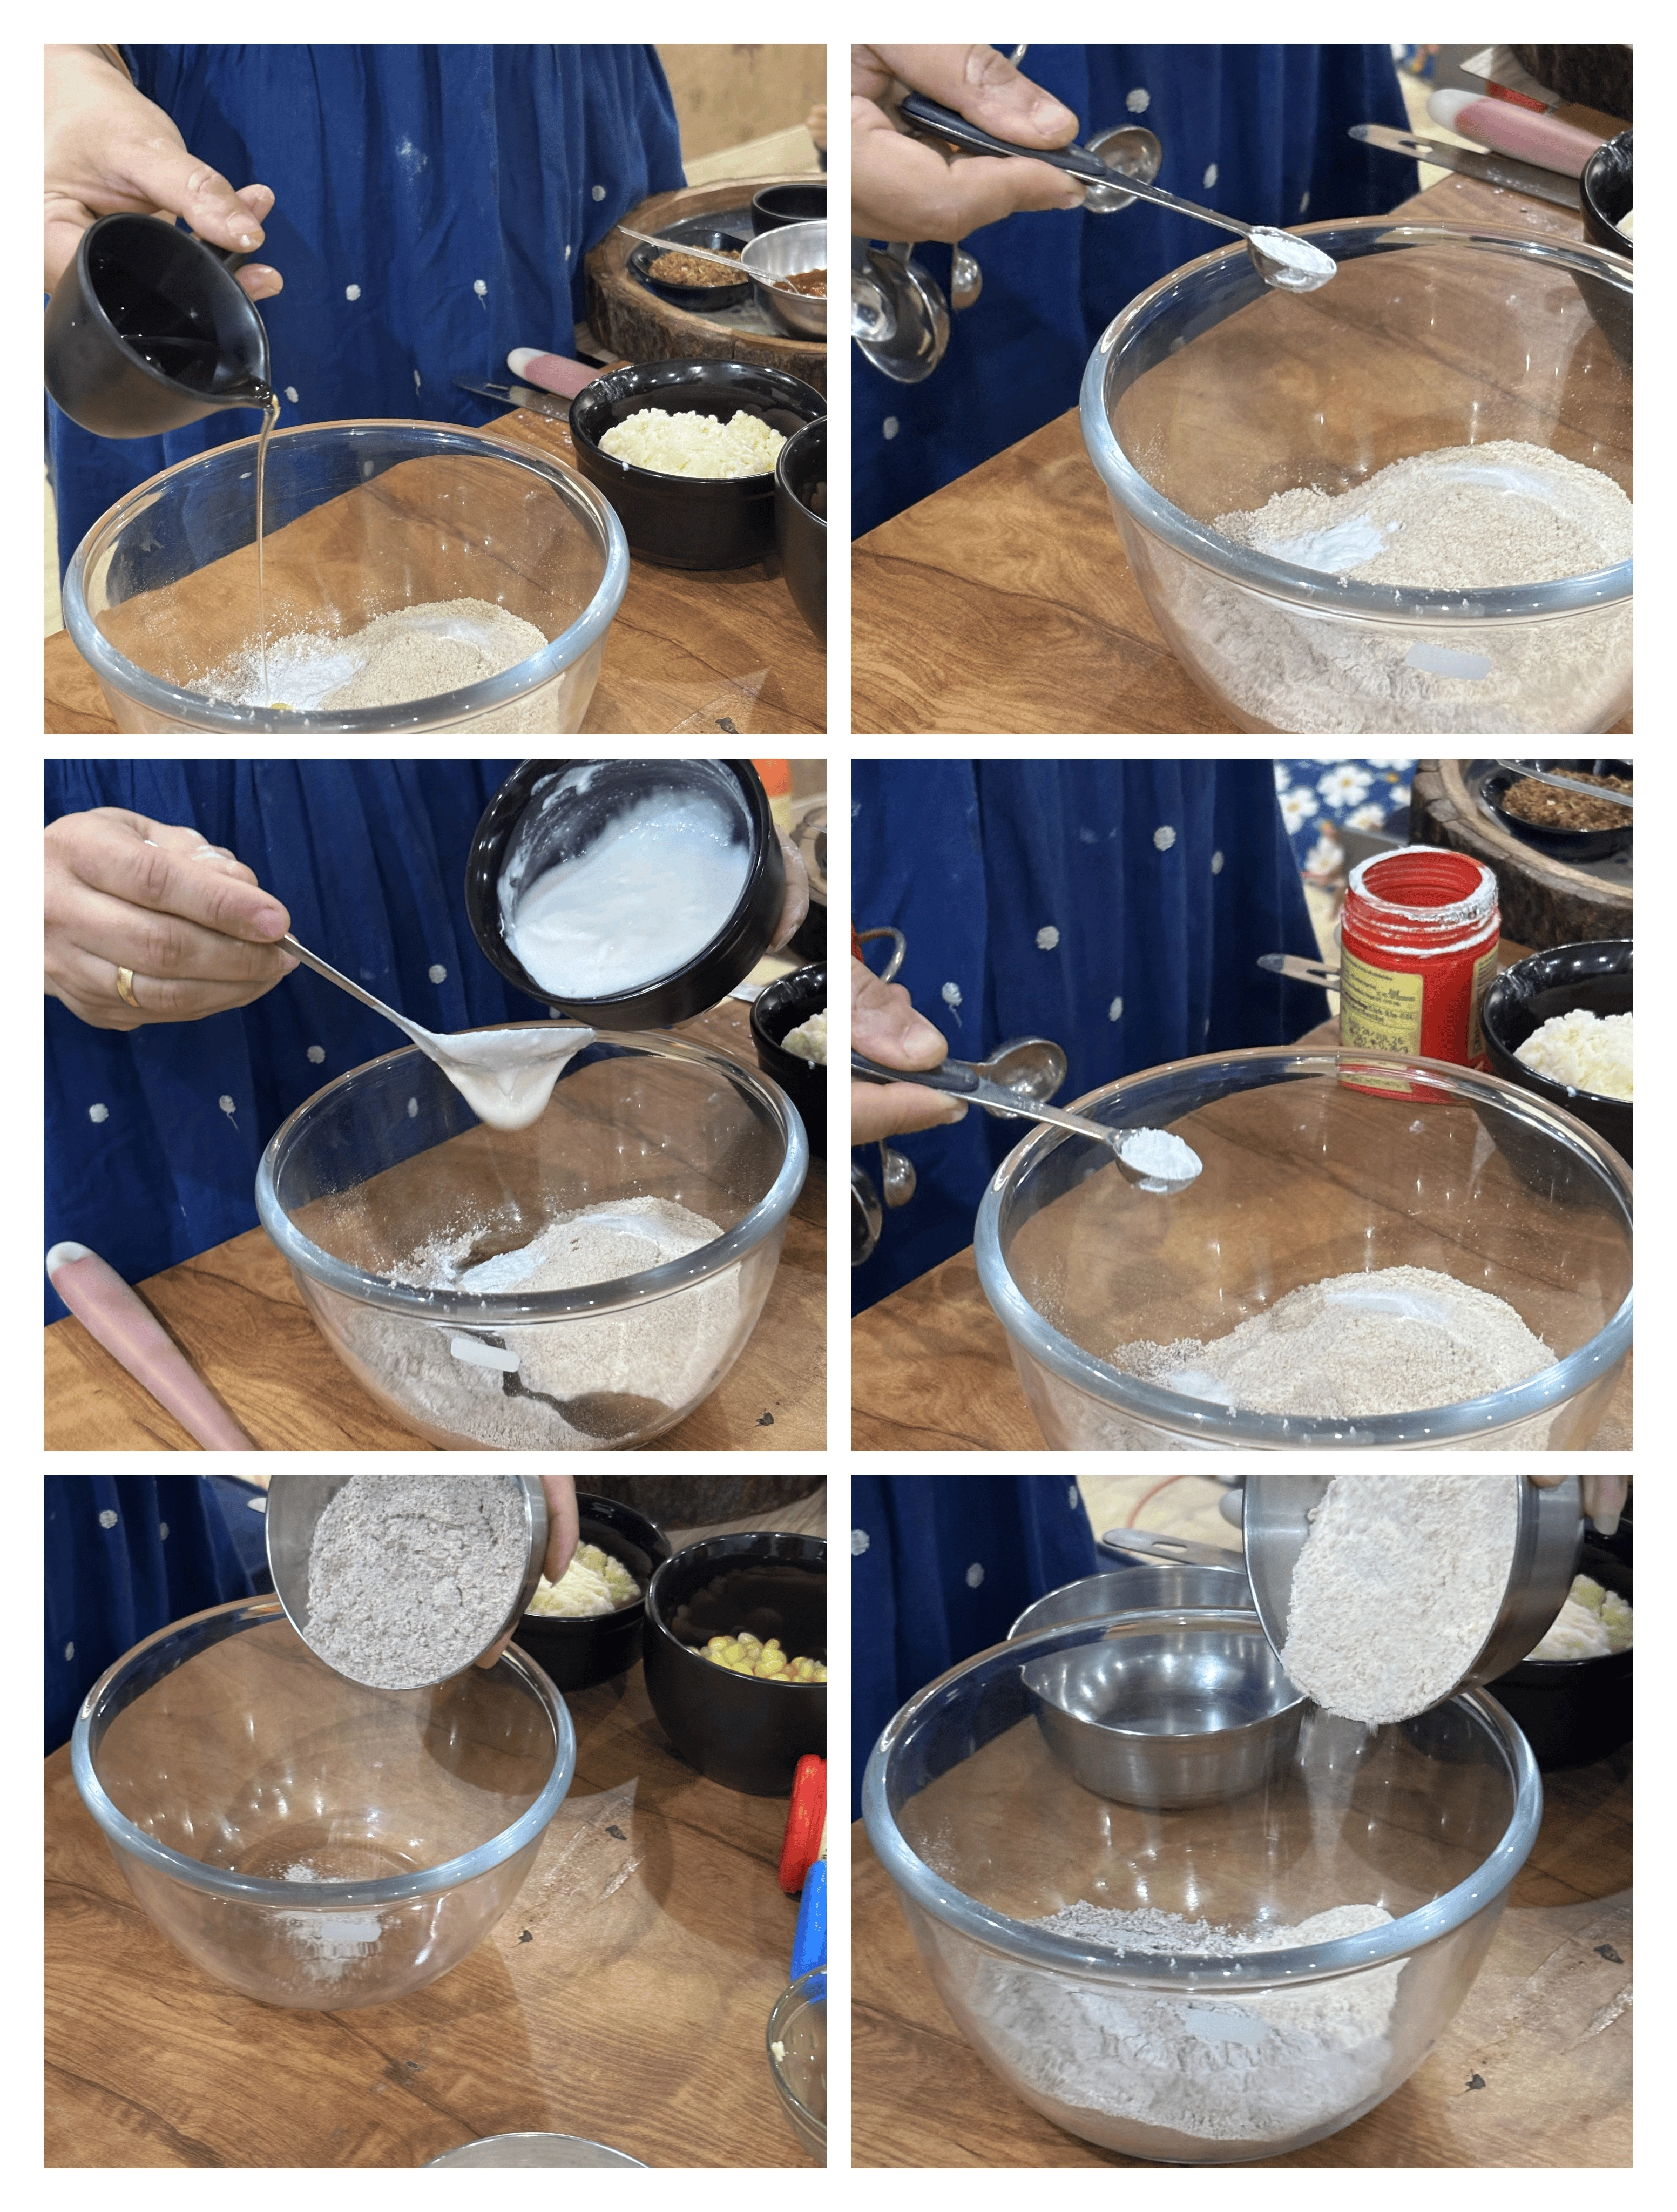
Step 1: Prepare the Dough
In a mixing bowl, combine mix millet flour, baking soda, baking powder, salt, oregano, olive oil, and yogurt.
Slowly add water, a little at a time, while stirring continuously to achieve a smooth, fluid consistency.
Add flour gradually, mixing well, until you get a batter-like texture, not too thick but flowing easily.
If necessary, adjust the consistency by adding more water or yogurt, depending on how runny you want the mixture.
Let the dough rest for 10–15 minutes.
Step 2: Shape the Crust
Preheat the oven to 180°C (350°F).
Prepare the batter: Use your desired pizza dough batter, which could be a thick pancake batter.
Line the tray: Place a sheet of parchment paper on a baking tray to prevent the batter from sticking.
Form small rounds: Scoop or pour small amounts of batter onto the parchment paper, creating individual round shapes. You can make them the size of mini pizzas or even smaller, depending on your preference.
Spread the batter: Use a spoon or the back of the scoop to spread the batter into an even, round shape (about 4-6 inches in diameter). Make sure there’s some space between each round so they don't touch during baking.
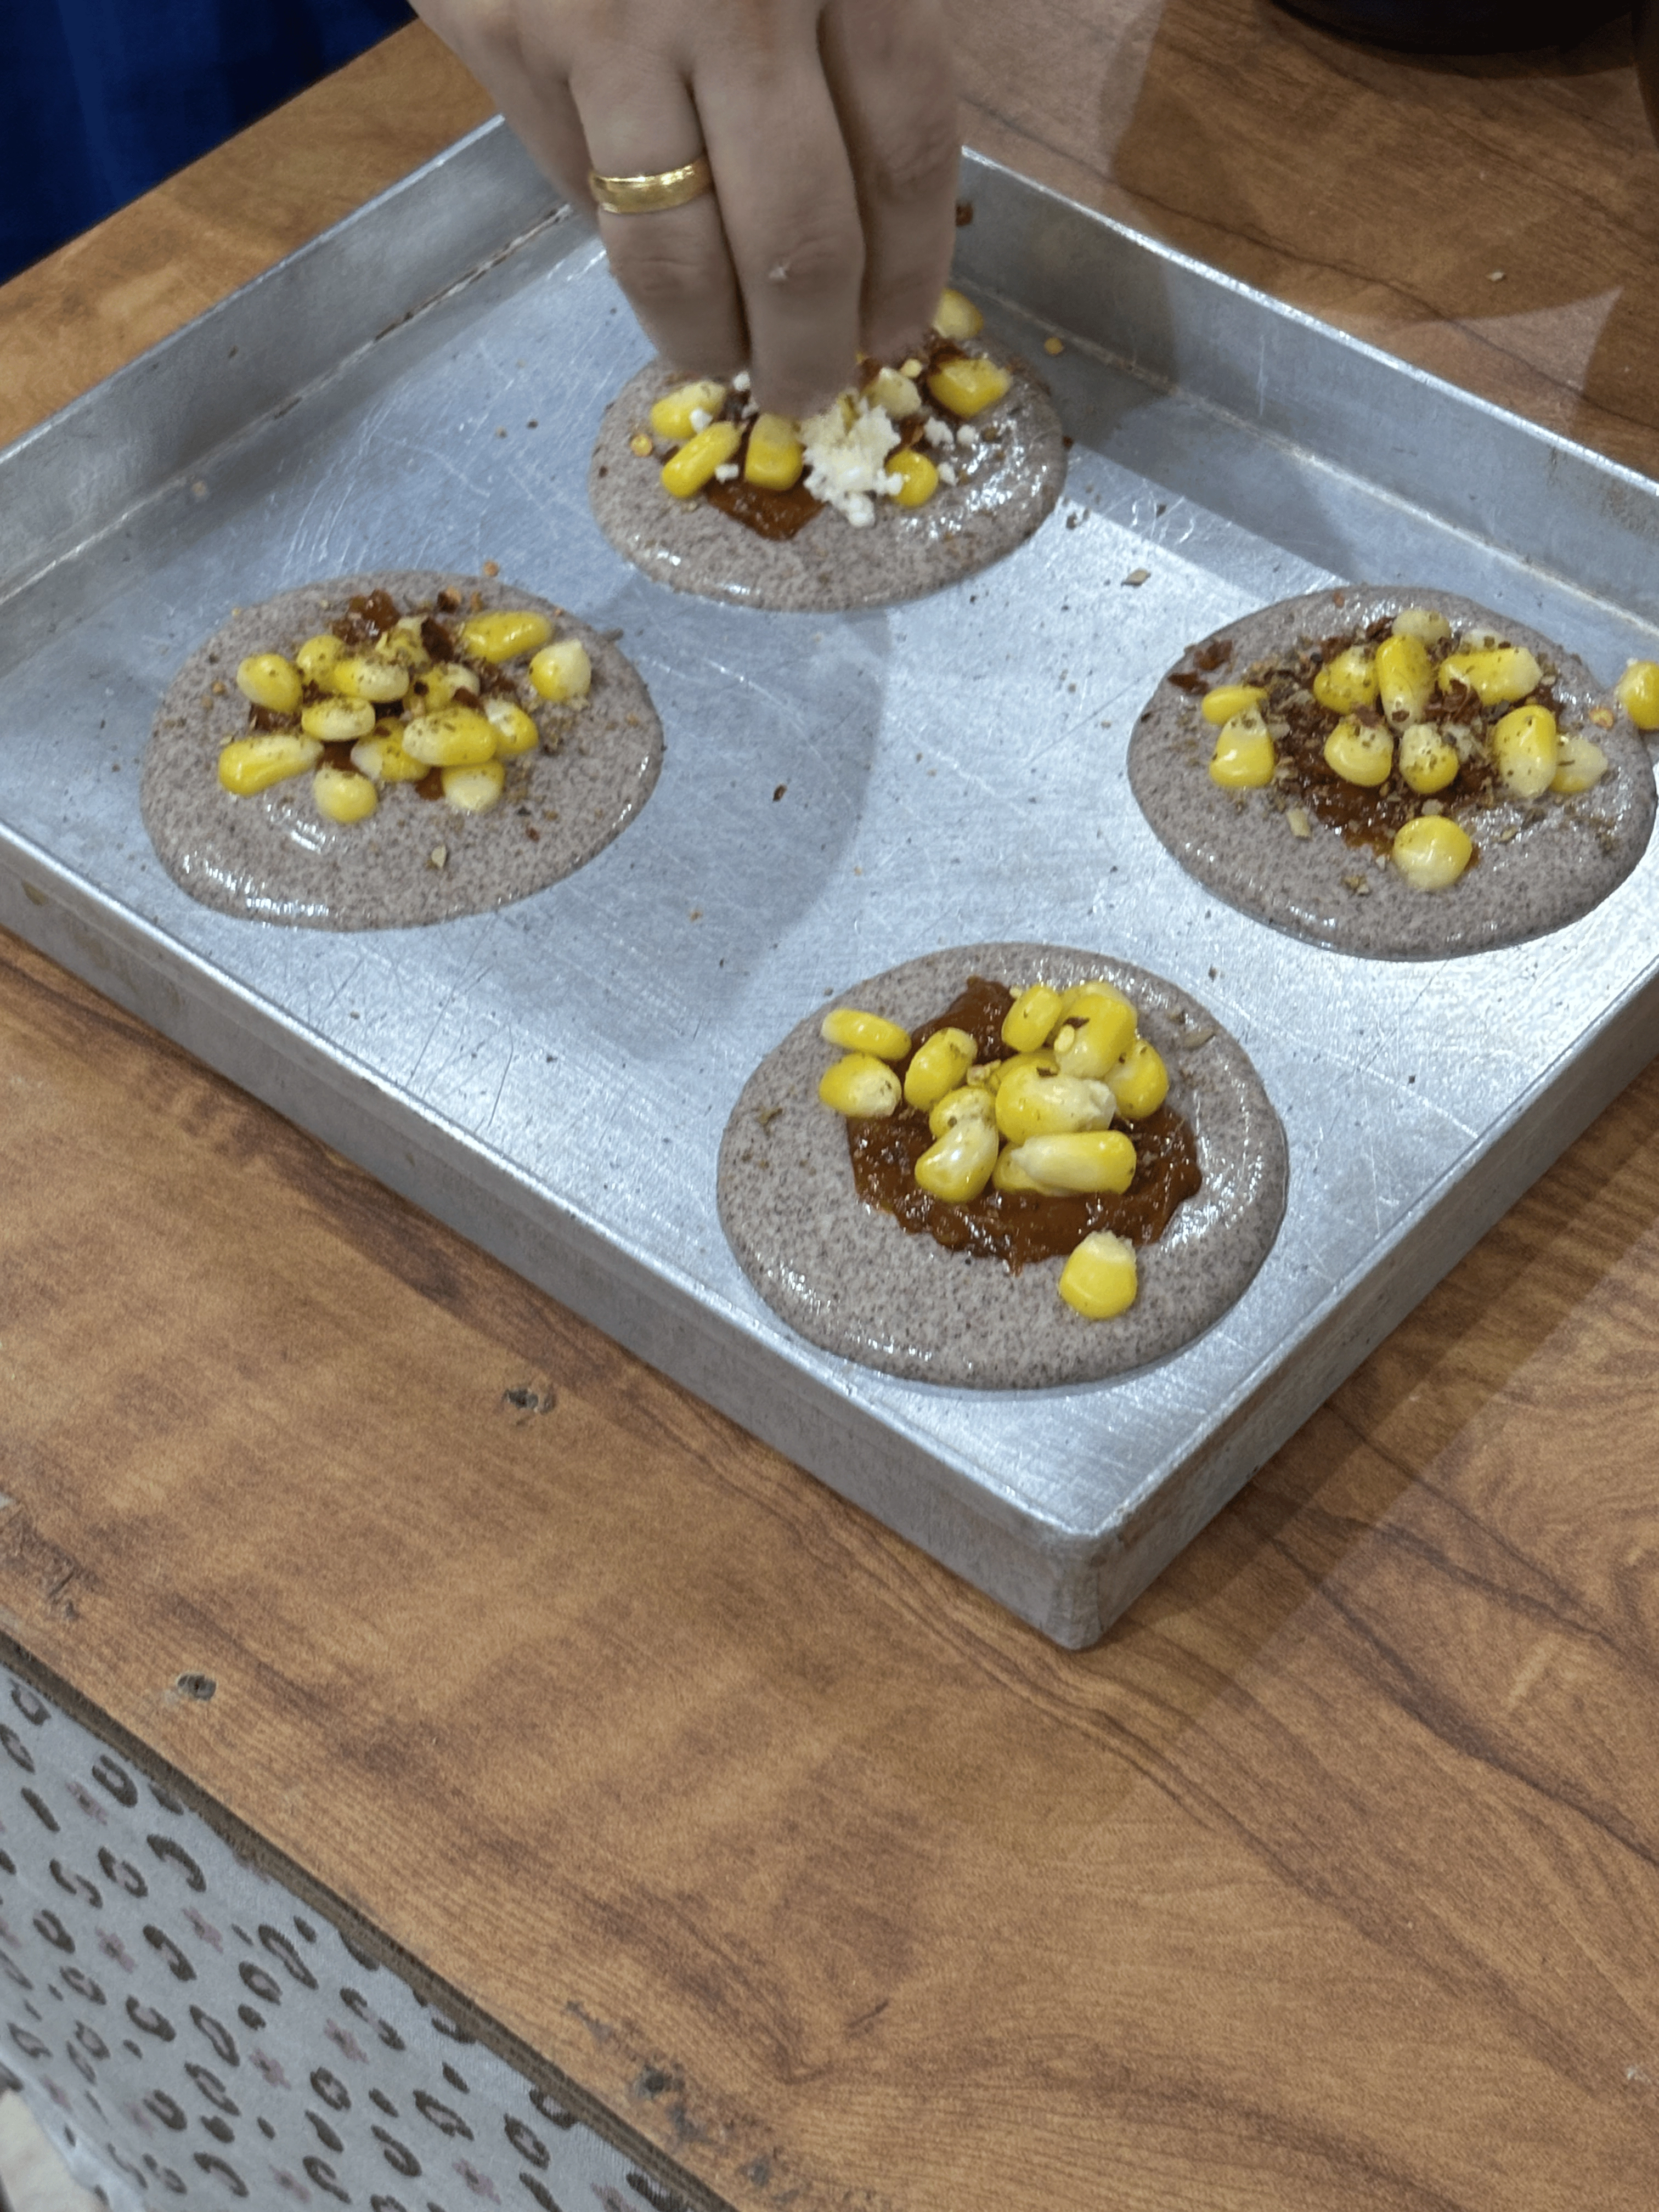
Step 3: Add Toppings
Spread pizza sauce over the batter.
Sprinkle cheese and layer your favorite veggies and proteins.
Step 4: Bake
Place the pizza in the oven and bake for 10–15 minutes, until the edges turn crispy and the cheese melts.
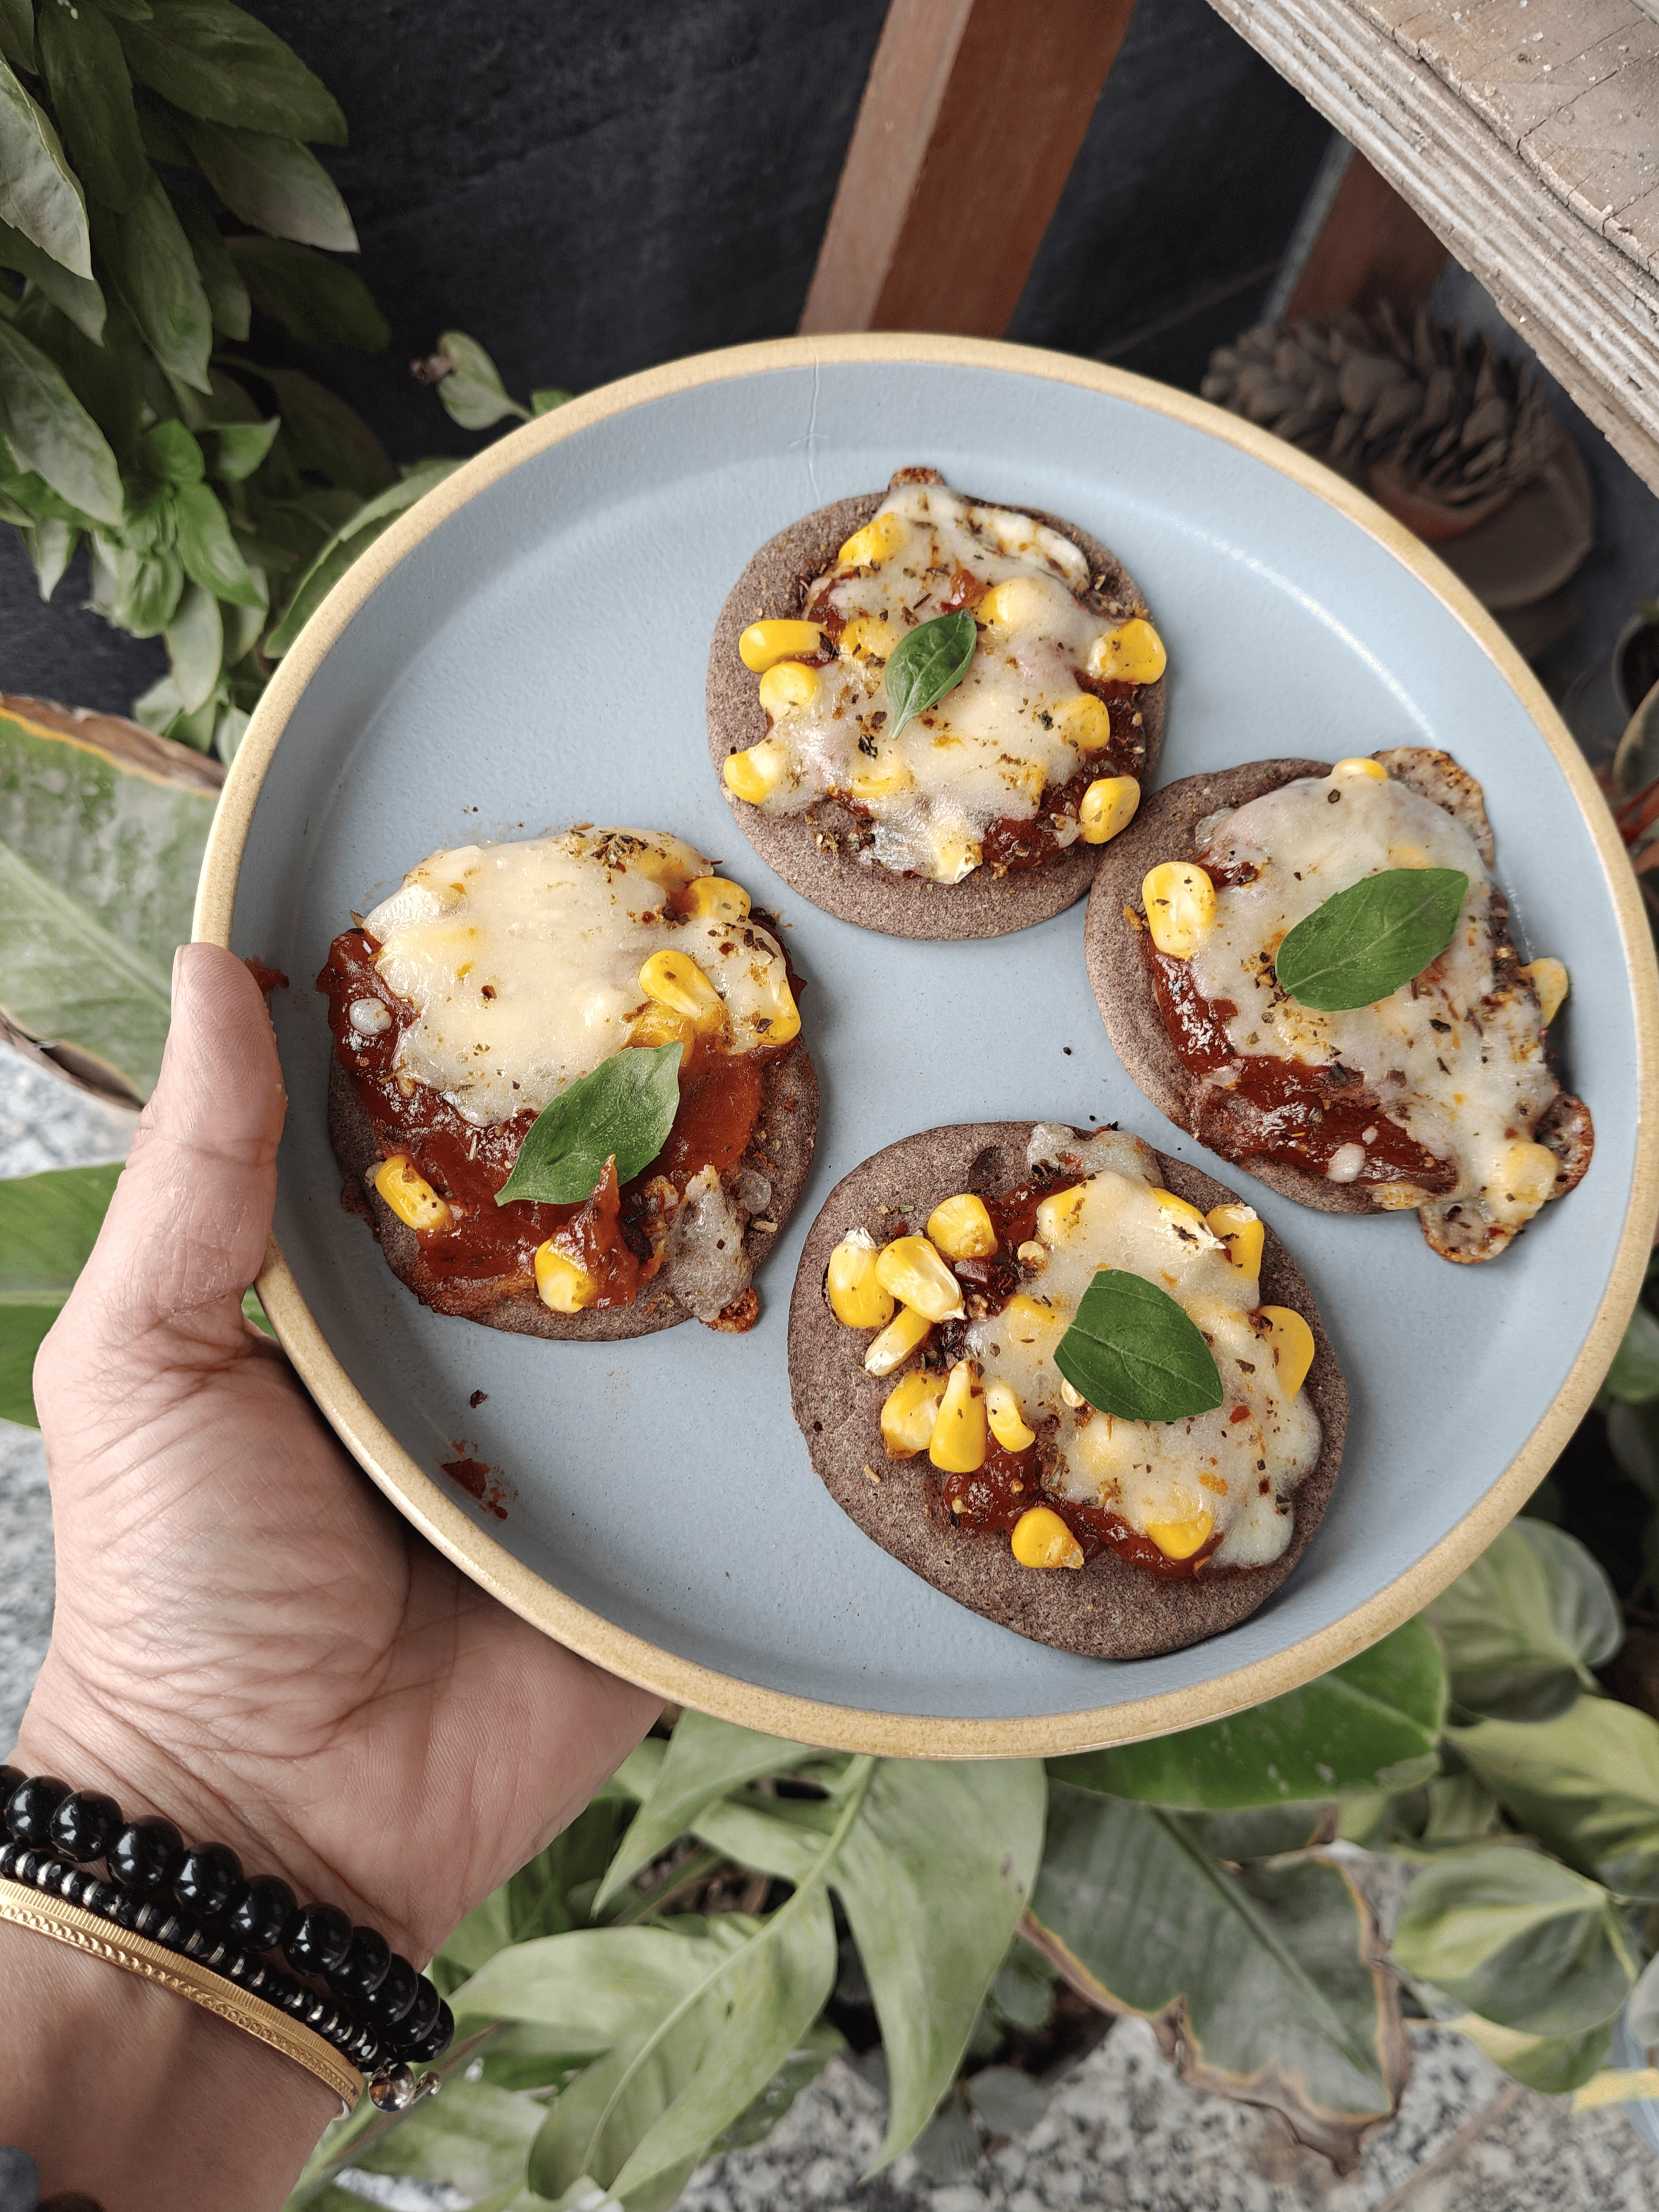
Step 5: Garnish & Serve
Sprinkle with fresh basil, oregano, and chili flakes.
Slice and enjoy your homemade, healthy millet pizza!
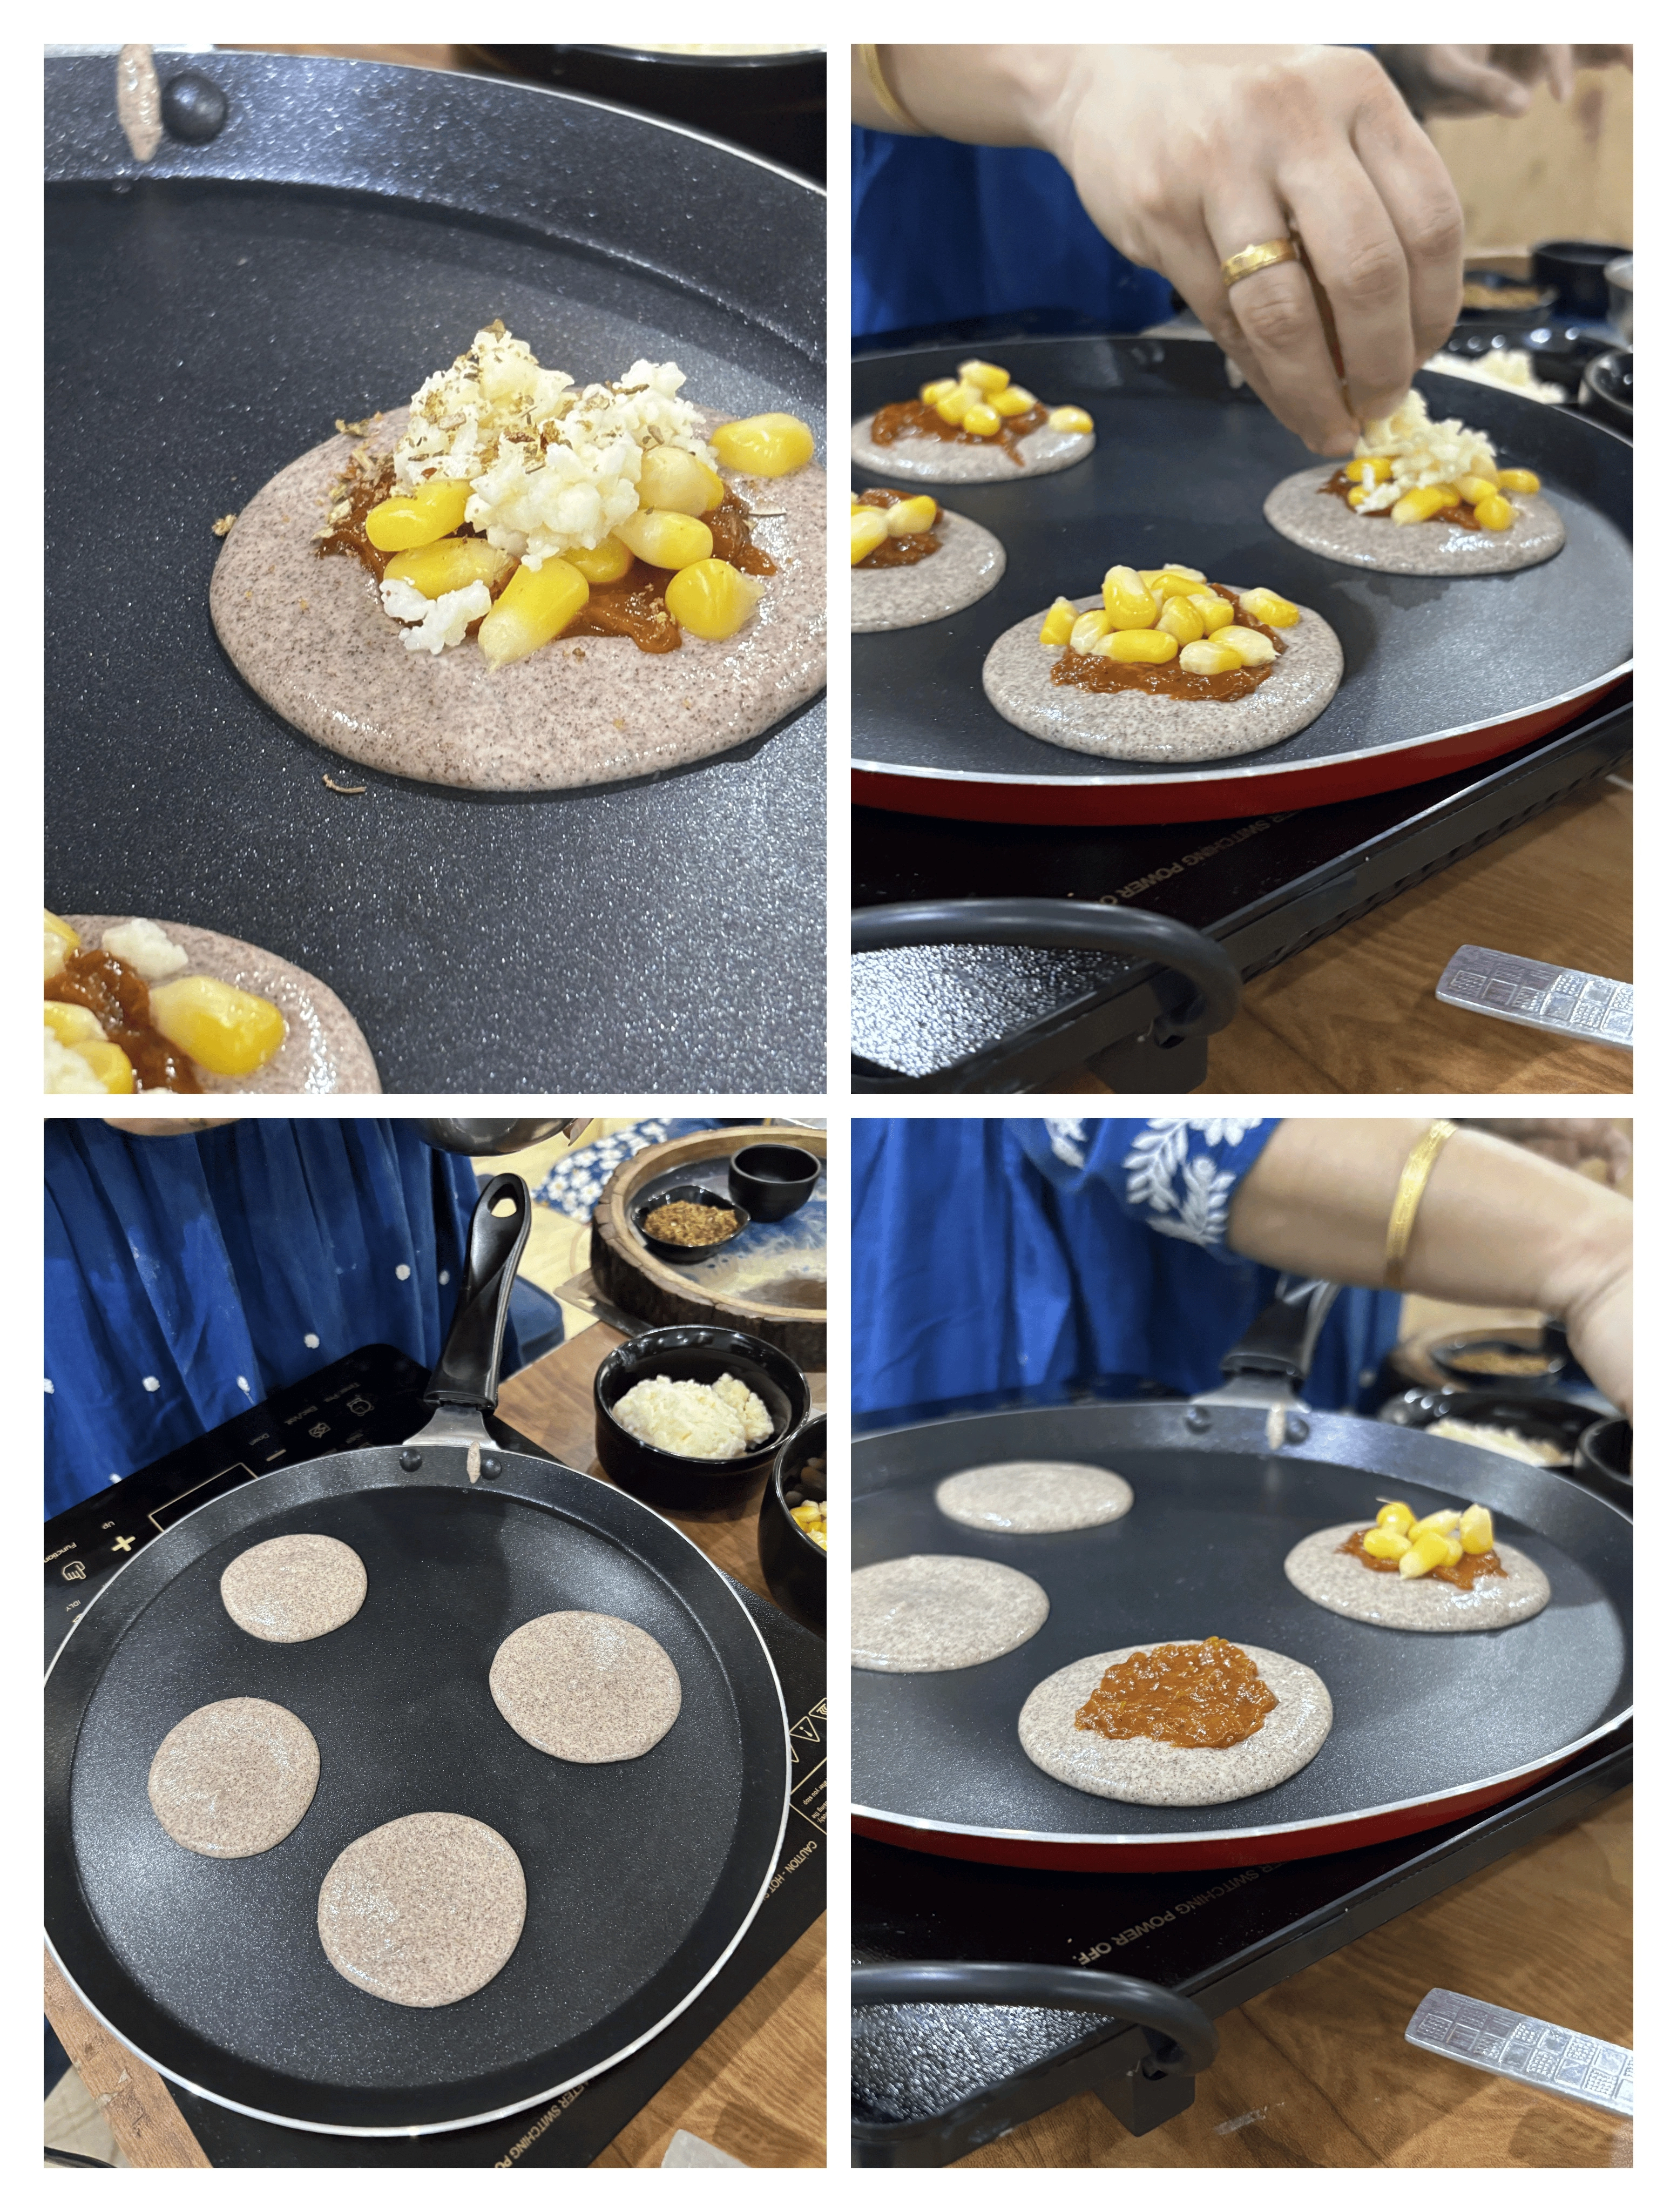
Making these mini pizzas on a gas tawa is super fun and easy!
Here’s how you can do it
Steps:
Heat up the tawa:
Put your tawa (griddle) on medium heat and let it warm up for a couple of minutes. You’ll know it’s ready when a drop of water sizzles on it.
Grease the tawa:
Lightly oil your tawa with a bit of butter or cooking oil so the batter doesn’t stick. You can use a paper towel or a brush to spread it evenly.
Pour the batter:
Now grab a spoon or ladle, and pour small rounds of batter onto the tawa. You can make them about 4-6 inches wide, just like a mini pizza.
You can use the back of your spoon to smooth out the batter into a nice round shape.
Add the toppings:
Now comes the fun part—add your toppings! Spread some sauce, throw on cheese, and any other goodies you want.
Cover it with the lid for a few minutes so the cheese melts and everything gets nice and warm.
Serve and enjoy:
Once everything is melted and bubbly, take your mini pizza off the tawa and enjoy it right away!
A couple of tips:
If you're worried about burning the batter, keep the heat on medium to low.
A lid really helps the cheese melt quickly, so don’t skip that step!
You can totally get creative with the toppings—veggies, cooked meats, and even scrambled eggs are awesome!
That’s it! Now you’ve got these super delicious, easy mini pizzas made right on your tawa. Enjoy!
Nutritional Comparison to Traditional Pizza
Nutrient | Traditional Pizza Crust (Wheat Flour) | Millet Pizza Crust |
|---|---|---|
Gluten Content | Contains gluten | Gluten-free |
Fiber Content | Low fiber content | High fiber content |
Glycemic Index | High glycemic index | Low glycemic index |
Protein Content | Lower protein content | Higher protein content |
Antioxidants | Lower antioxidant content | Higher antioxidant content |
Health Benefits
Weight Management: Millets help in feeling fuller and reducing calorie intake, aiding in weight loss.
Diabetes Management: The low glycemic index of millet helps regulate blood sugar levels.
Cardiovascular Health: Rich in antioxidants, which can help protect against oxidative stress and chronic diseases.
Why you’ll love this pizza?
Super easy to make – No yeast or long proofing required!
Customizable – Add your favorite flavors and toppings.
Packed with health benefits – Ideal for Weight Watchers and diabetics.
Tastes amazing – The nutty, slightly crunchy crust makes every bite satisfying.
FAQs:
Q1: What exactly is millet pizza?
A1: Millet pizza is a fun, healthier twist on your regular pizza! Instead of using wheat flour for the crust, we use millet flour, which is gluten-free and has a nice, slightly nutty flavor. It's a great way to switch things up!
Q2: Is millet pizza gluten-free?
A2: Yup, it sure is! Millet is naturally gluten-free, so if you’re avoiding gluten, this pizza’s a perfect choice for you.
Q3: What does millet pizza taste like?
A3: It has a mild, nutty flavor with a slightly denser, crispier crust compared to regular pizza. It’s a bit different but still super delicious—perfect if you’re in the mood for something new!
Q4: Can I make the crust soft and chewy like regular pizza?
A4: Millet crust is a little firmer and crunchier by nature, but you can totally soften it up by adding a bit more olive oil or yogurt. Don’t be afraid to play around with the recipe to get it just the way you like it!
Switching to millet-based pizza doesn’t mean giving up on taste—it means gaining health benefits while still enjoying your favorite comfort food. So, whether you’re on a gluten-free diet, looking for better digestion, or simply love trying new things, this Millet Pizza Recipe is worth a try!


Comments