Just imagine: is it enough to know soccer tricks and moves if you want to be a successful soccer player? Nope. I don't think so, and I think you will also agree with me.
In fact, to become a good soccer player, you need to learn the right techniques along with the moves. Likewise, learning to play music on a piano isn't enough to become a good pianist. In order to excel in piano playing, you must learn how to place your hands on a piano correctly.
How to Place Your Hands on a Piano?
Getting the right hand posture while playing piano is indeed challenging. Mostly because right body posture while playing piano plays a significant role.
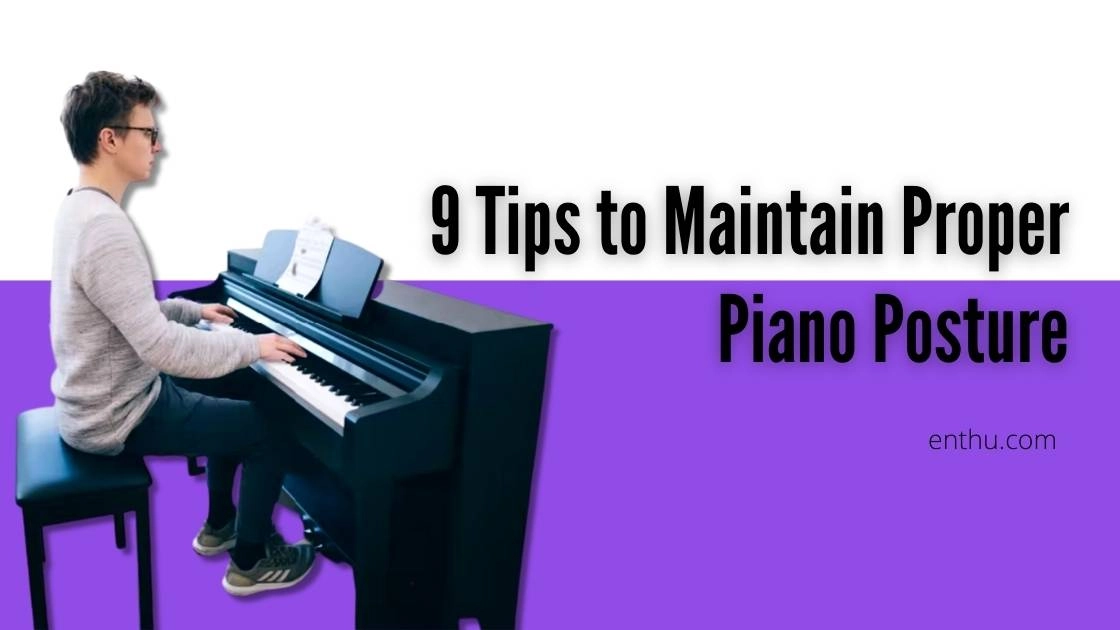
For instance, if your legs aren't comfortable reaching the piano pedal, you wouldn't be able to place your hands and fingers properly on the piano.
Dear readers, you have nothing to worry about hand postures . You aren't expected to do that in a single day. Once you learn the step-by-step process of how to get a perfect position, gradually, it will turn into a habit. Wondering if playing piano is your cup of tea?
1. Sit Properly: Hold the Edge
The correct sitting posture is the first step towards learning how to place hands on
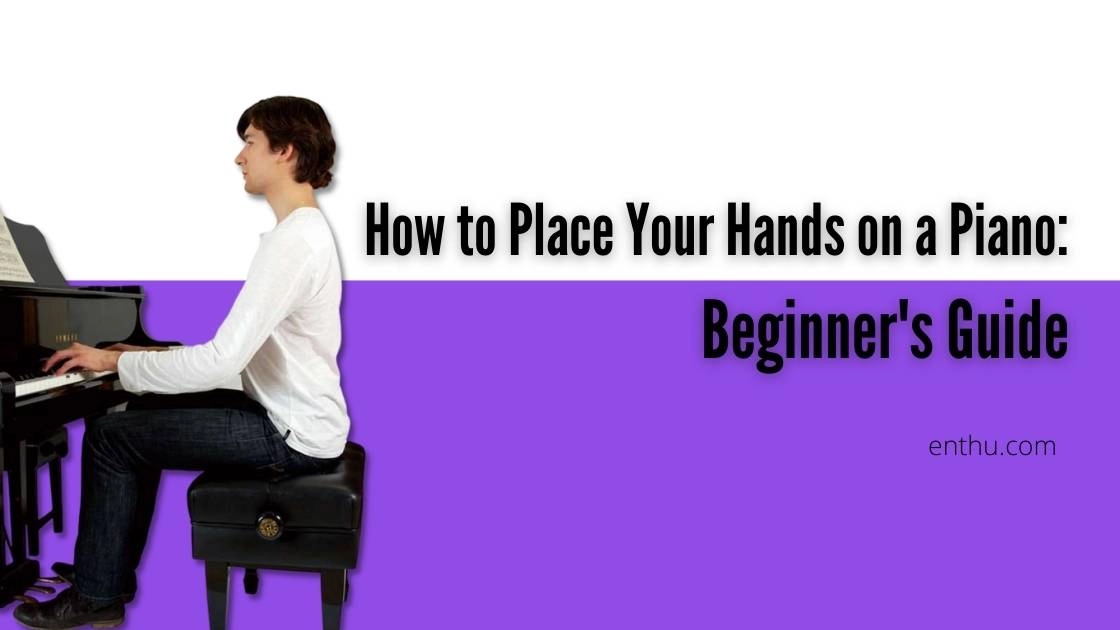
How to sit properly on the piano bench
Sit on the edge of the tool/bench
Keep your legs extended out, feet resting flat on the ground
Keep knees as straight as your spine
Mind the distance between the bench and the piano. Your legs should reach the pedal without any difficulty
2. Check your Wrists and Arms Alignment
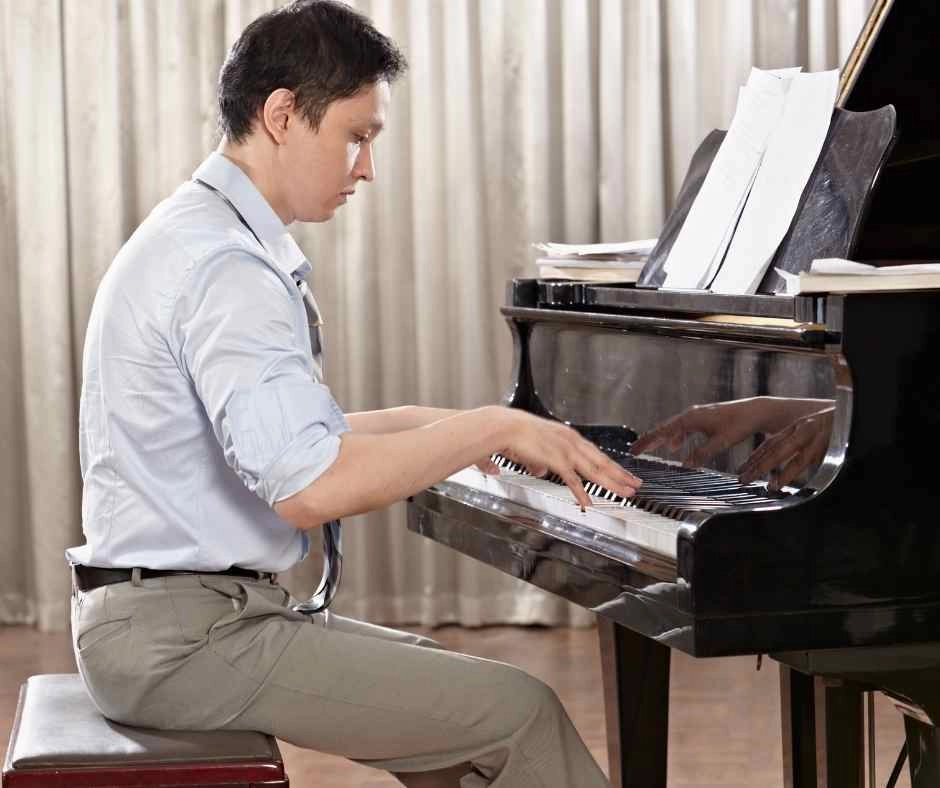
While playing the piano, your wrists and arms should always be in a straight line, parallel to the ground.
3. Remove the Tension
Relax your shoulder, neck, arms, wrists, and spine. Remove the tension without loosening your posture.
4. Curl your Fingers
Perfecting Hand and Finger Position on the Piano
Imagine resting your palms lightly on a railing. Now, curl your palms and fingers so that only your fingertips touch the piano keys. This is the ideal hand position every pianist should aim for—relaxed yet controlled.
Once you’ve got this posture, the next step is to learn where to place your fingers on the keys. Proper finger placement builds comfort, accuracy, and speed, allowing you to move smoothly across the keyboard without unnecessary tension.
Where to Place Your Fingers on the Piano?
1. Middle C position
It's one of the initial finger positions that are taught to beginners. Keep both your thumbs on the middle C and the rest of the piano fingers on consecutive white keys, serially.
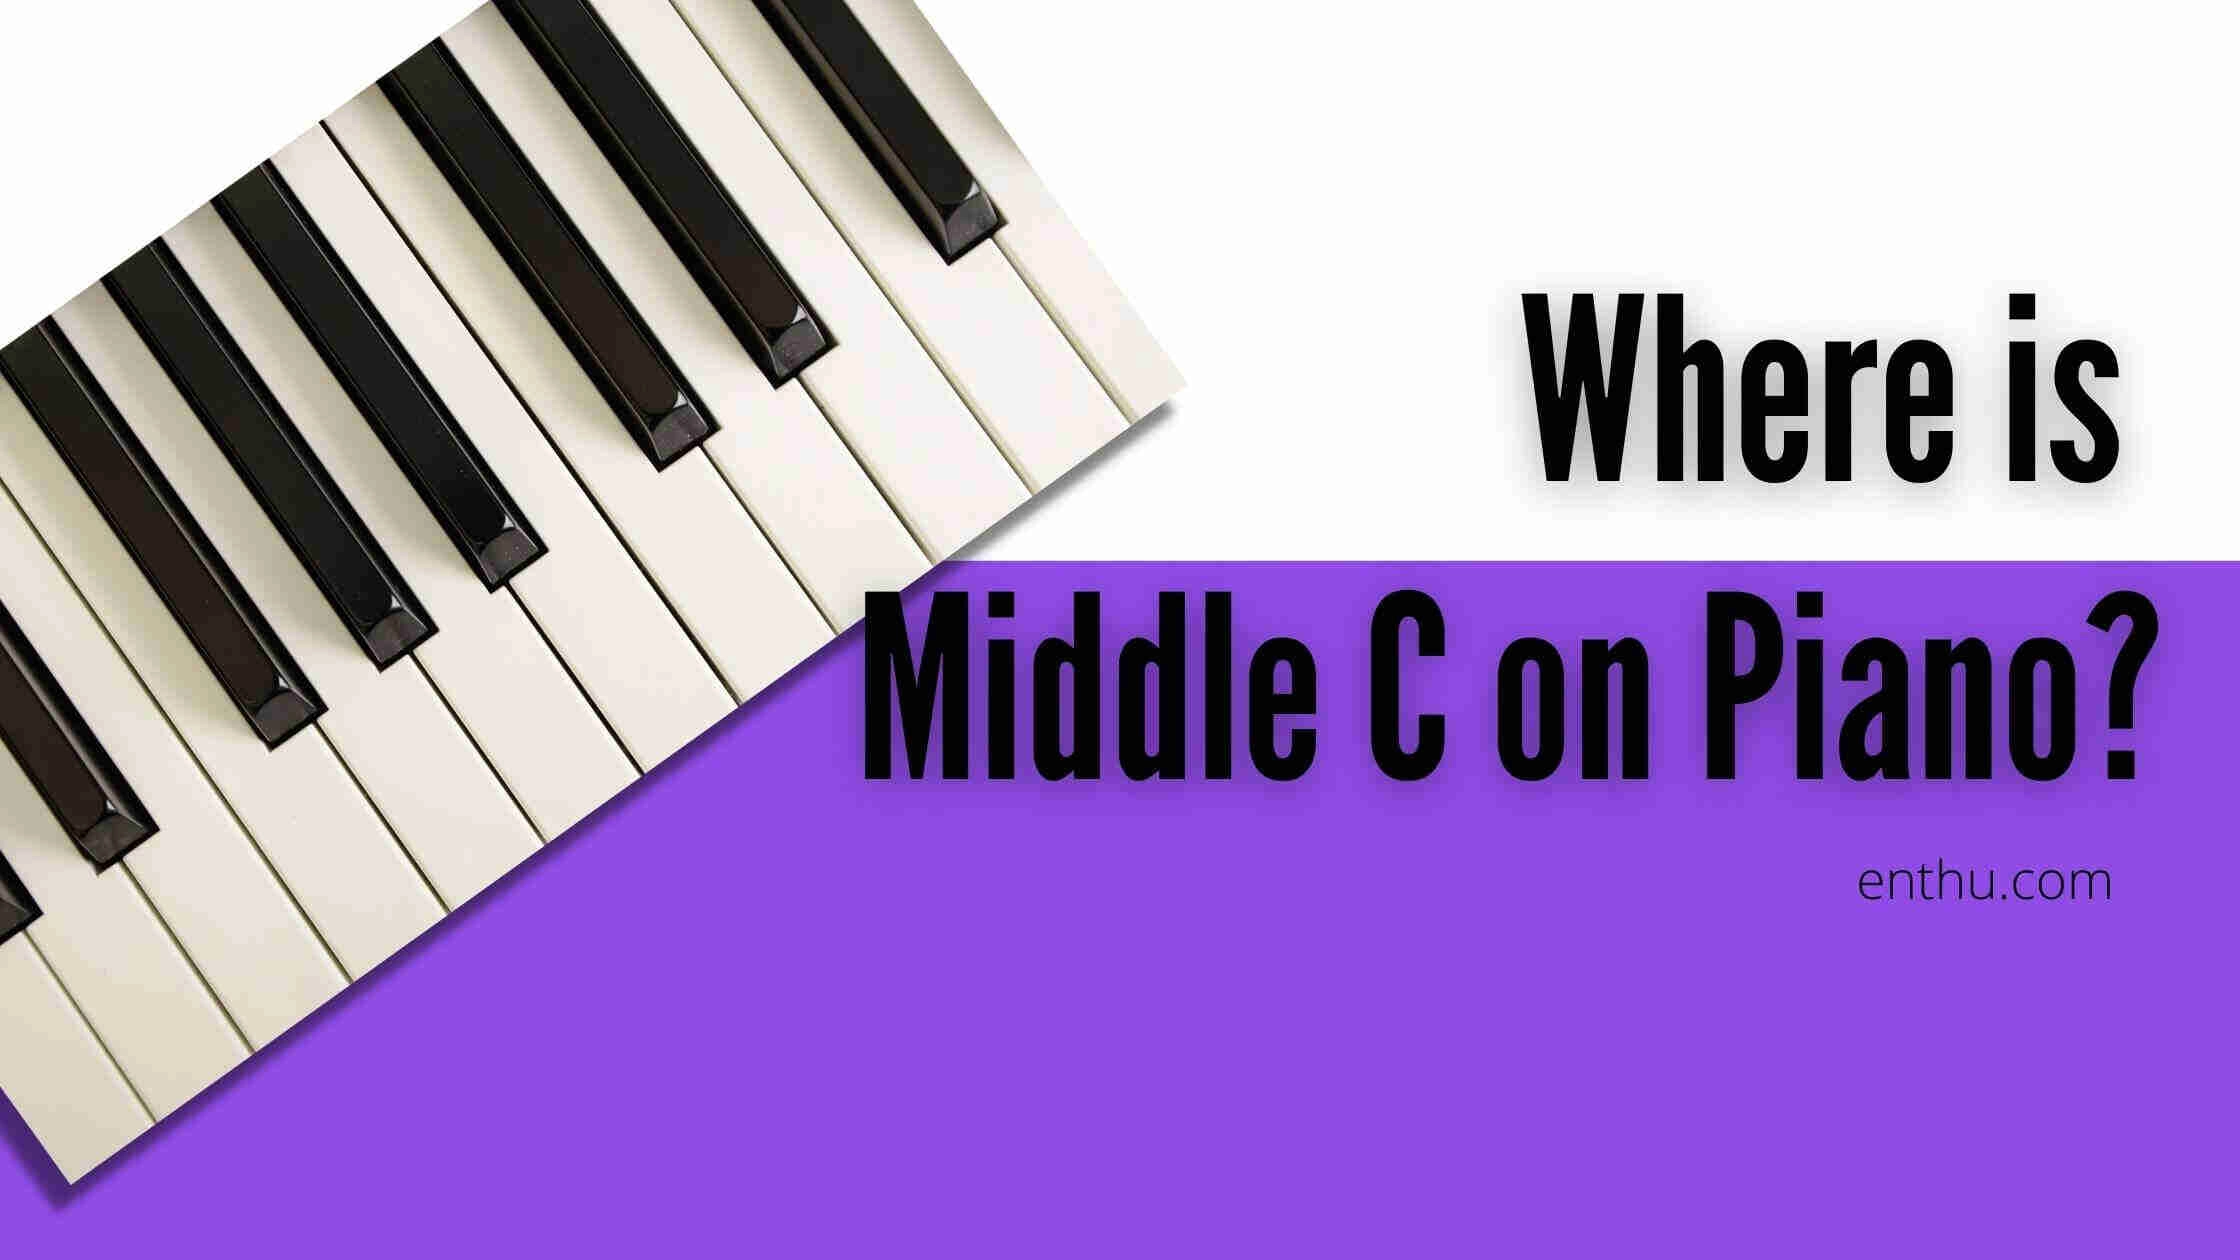
How to find the middle C?
You may already know the fact that black keys appear alternatively in groups of twos and threes on a piano. So, first, you need to figure out the middle of the piano. Once you are there, find the group of two black keys that fall nearest to the center. The adjacent left white key to the first black key is the middle C.
An easy tip for finding the middle C: If you are playing a standard 88-keys piano, then it's easier to find the middle C. Just find the fourth C from the left, and you have the middle C. For sheet music, you will find the middle C is on the first ledger line. It is below the treble staff and the first ledger line above the bass staff.

2. G Position Again, the
G position is also one of the most common hand postures. For the G position, begin by finding the next right G to the middle C. Once you find that, place your right thumb on it and the other four fingers on the consecutive white keys.
Likewise, for your left hand, find the next G on the left to the middle C and consecutively place your finger on the white keys so that the pinky falls on the G key.
How to Improve Piano Hand Positions?
Well, practicing on the instrument is one way of improving hand placements. In addition, there are exercises to improve how you place hands on piano.
1. Hold a Pull-Up Bar
Find a pull-up bar that is slightly wider than a regular pull-up bar. And hold it with your hands. Try to notice how your fingers curl without reaching the bottom of your palm. Once you do that, try this hand posture on your piano.
(If you want, you can also go for pull-ups. Begin with shorter durations. Gradually, increase the duration. Don't forget to take breaks. It will not only make your fingers stronger but also increase your endurance for longer practice sessions. Additionally, it will make your shoulders and neck more powerful.)
2. Hold a Tennis
Ball Tennis balls are perfect for this exercise, as they fit in our palms easily. So, in this hand exercise, all you need to do is to hold the ball. During this exercise, try to notice your fingers.
Are they curling on top of the ball without going all the way? Yes, that's the perfect hand posture for playing piano.
3. Cheers!
I named this exercise cheers, as you will need to hold a glass. First, hold a glass of water and notice how your fingers curl. Next, take away the glass from your hold but try to maintain the position for a while.
If you think you can do it, you can. Join EnthuZiastic piano courses today and achieve your piano learning goals in no time.
Why Should You Know How to Place Your Hands on a Piano?
There are plenty of piano tutors and instructors out there who wouldn't tell you about proper hand placement. Not only piano teachers but there are also professional pianists who never gave a thought on how to change hand position on piano.
But once you know the benefits of placing your hands correctly while playing an instrument, you wouldn't agree with them.
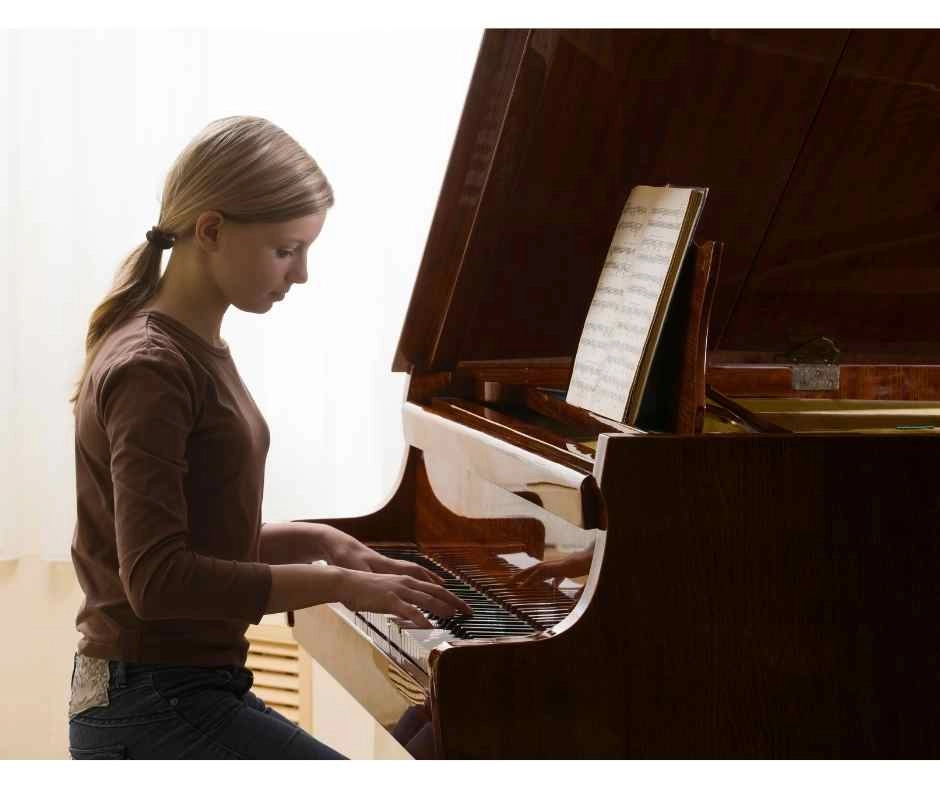
1. For Pain-Free Piano Lessons
As beginners, we practice piano only for brief sessions. While the ambitious piano students practice for an hour, most recreational players and amateurs practice for as little as half-an-hour durations.
If you are also a beginner and practice for only brief sessions, it's okay not to care about hand placement while playing piano. But what we often forget is that one day you are going to practice for longer durations.
And when practicing for more than three hours, if you still don't have good posture, then you may end up with severe pain. Sometimes, some pianists also end up suffering from chronic pain in wrist joints and elbow joints. Therefore, for a pain-free career as a pianist, I suggest you immediately learn proper piano hand placements.
2. Enhances Tonal Quality
Undoubtedly, good-piano-hand-positions can improve your performance dramatically. You will enjoy pain-free piano classes and practice for longer hours.
But have you ever thought that it could enhance the music coming out of the piano? Yes, it does. Right hand postures can improve the sound coming out of the instrument.
3. Glitch Free Performance
Imagine a player who doesn't know how to place his hands on the keyboard. Will they be able to play piano faster and smoother? The answer is NO.
One must adopt the correct piano hand posture for glitch-free, smoother, and flowy performance.


Conclusion
Good piano hands position is always a good start to begin your practice or performance. If you are a beginner, my advice is to learn good positions from the beginning. And if you are already a professional pianist, remember, it's never late to adopt good habits.
FAQs
1. What is the correct hand position for playing the piano?
It is when the wrists are aligned with the arms in a straight line, palms are faced down without tension, and fingertips are touching the piano keys.
2. What is the middle C position?
The middle C position is a position in which both thumbs touch on the middle C, and the other fingers touch the consecutive white keys serially.
3. How to find the middle C key?
Begin by finding the middle of the piano. Once you are there, next, find the group of two black keys that fall nearest to the center. The adjacent left white key to the first black key is the middle C.
4. What is the G hand position on the piano?
In the G position, you begin by finding the next right G to the middle C. Once you find that, place your right thumb on it and the other four fingers on the consecutive white keys. Similarly, find the next G on the left to the middle C for your left-hand placement. Place your finger on the white keys consecutively in such a way that the pinky falls on the G key.




Comments